


If the schedule you create is the first one you add in the HRnest system, and your employees have worked overtime in the previous months and you would like to add and mark it in the application, follow the instructions below.
Step 1
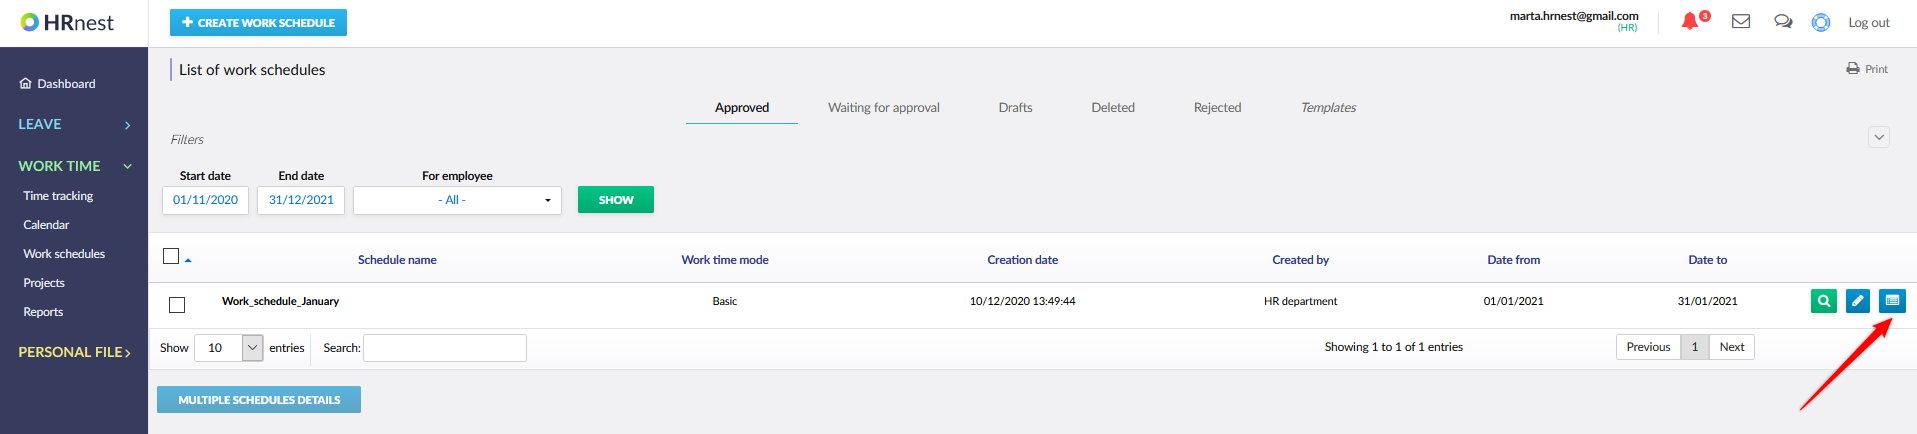
From the side menu, select Work time, then the Work schedules tab, select the schedule on which you want to mark the amount of overtime worked, and then click the blue ‘Work schedule execution report’ icon.
Step 2
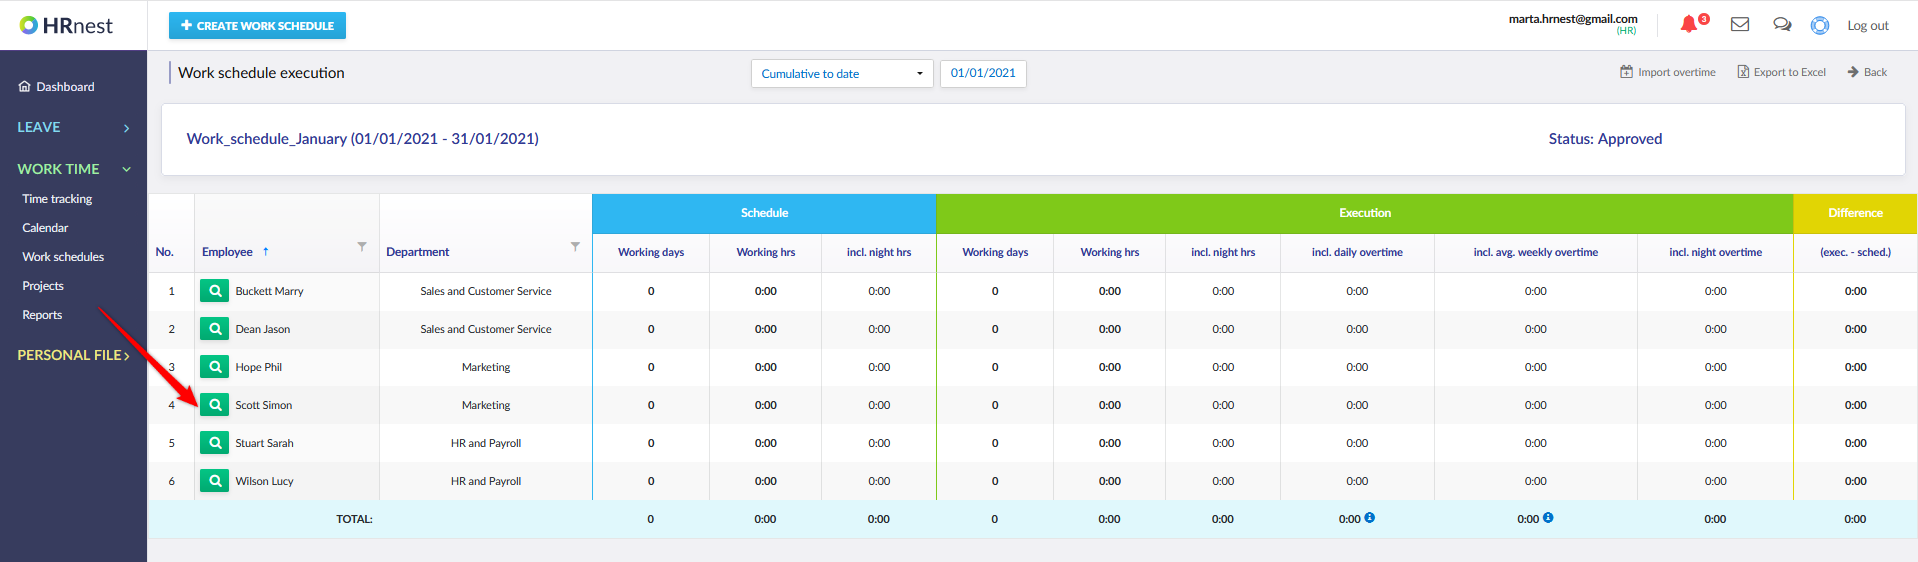
Find the employee you want to mark overtime for and click the green magnifying glass next to his name.
Step 3
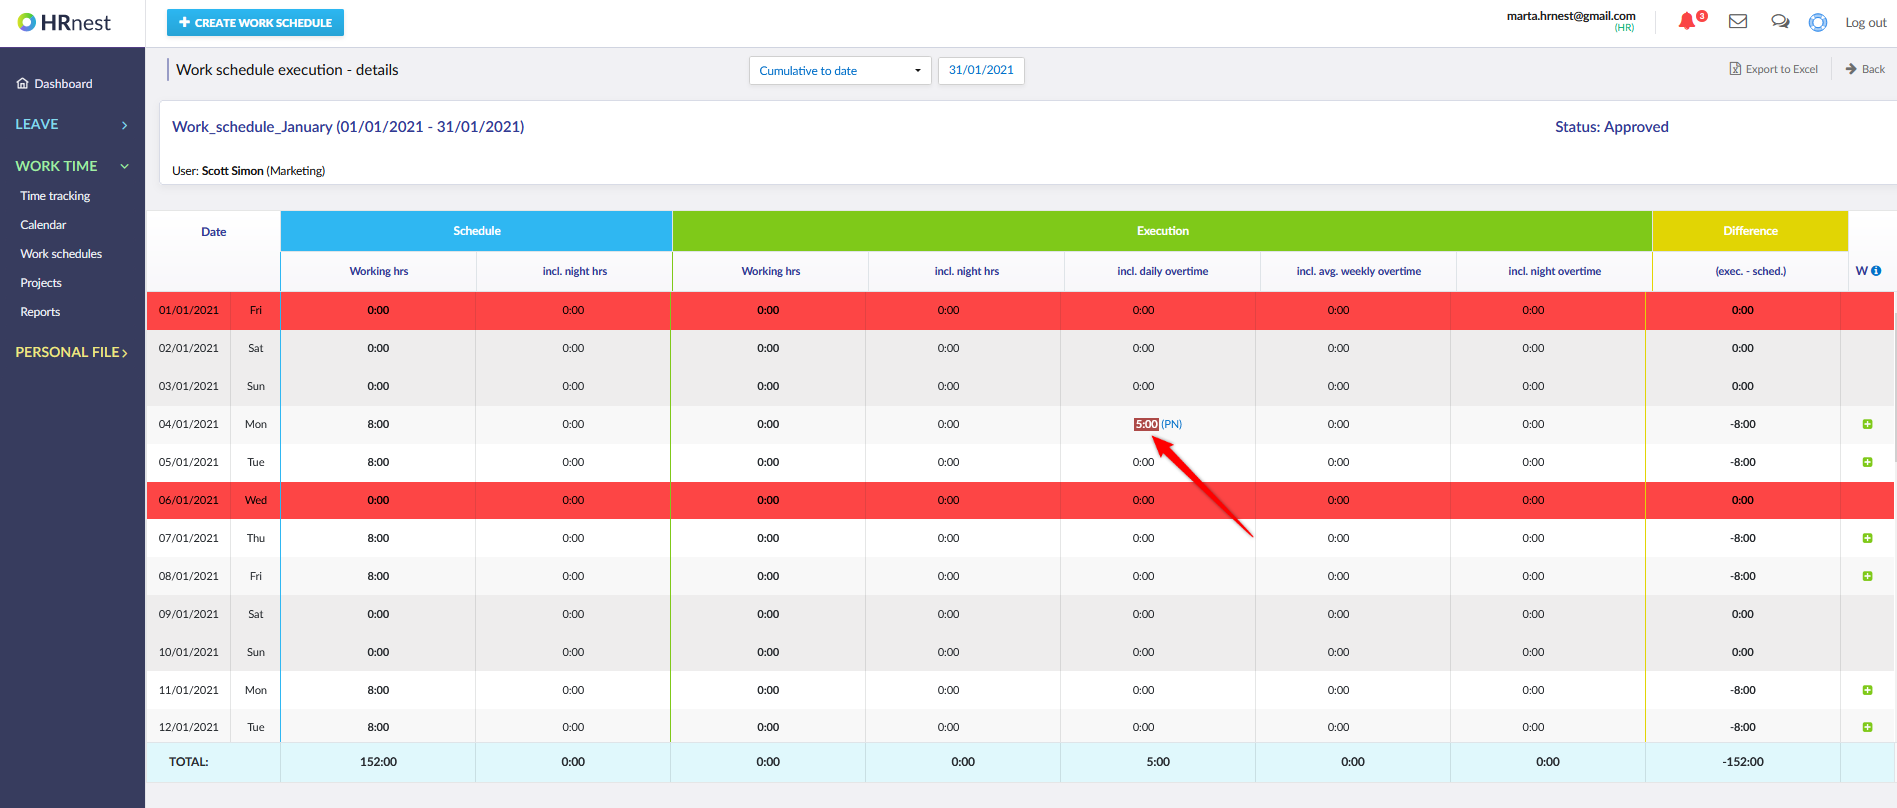
After going to Details, hover the cursor over the ‘+ PM’ icon in the column where you want to add overtime, for example in the column including daily overtime.
Step 4
Enter the amount of overtime, switch from ‘paid’ to ‘worked out’, then select the type of overtime and save the changes.

Step 5
Overtime worked by the employee in the previous months has been added to the schedule.
In the HRnest system, there are two ways to reset the overtime: marking it as paid or issuing a holiday request ‘Time off in lineu for overtime’. You can also settle overtime in the next month (settlement period) and use the option of importing overtime.


